Introduction to Docking Stations
Docking stations are now being rolled out around the Trust to replace the traditional desktop PC and monitor setup. This is an important step forward as it allows for teachers and staff alike to more easily and reliably work both on and off-site with a device dedicated to each user instead of having to share systems as before.

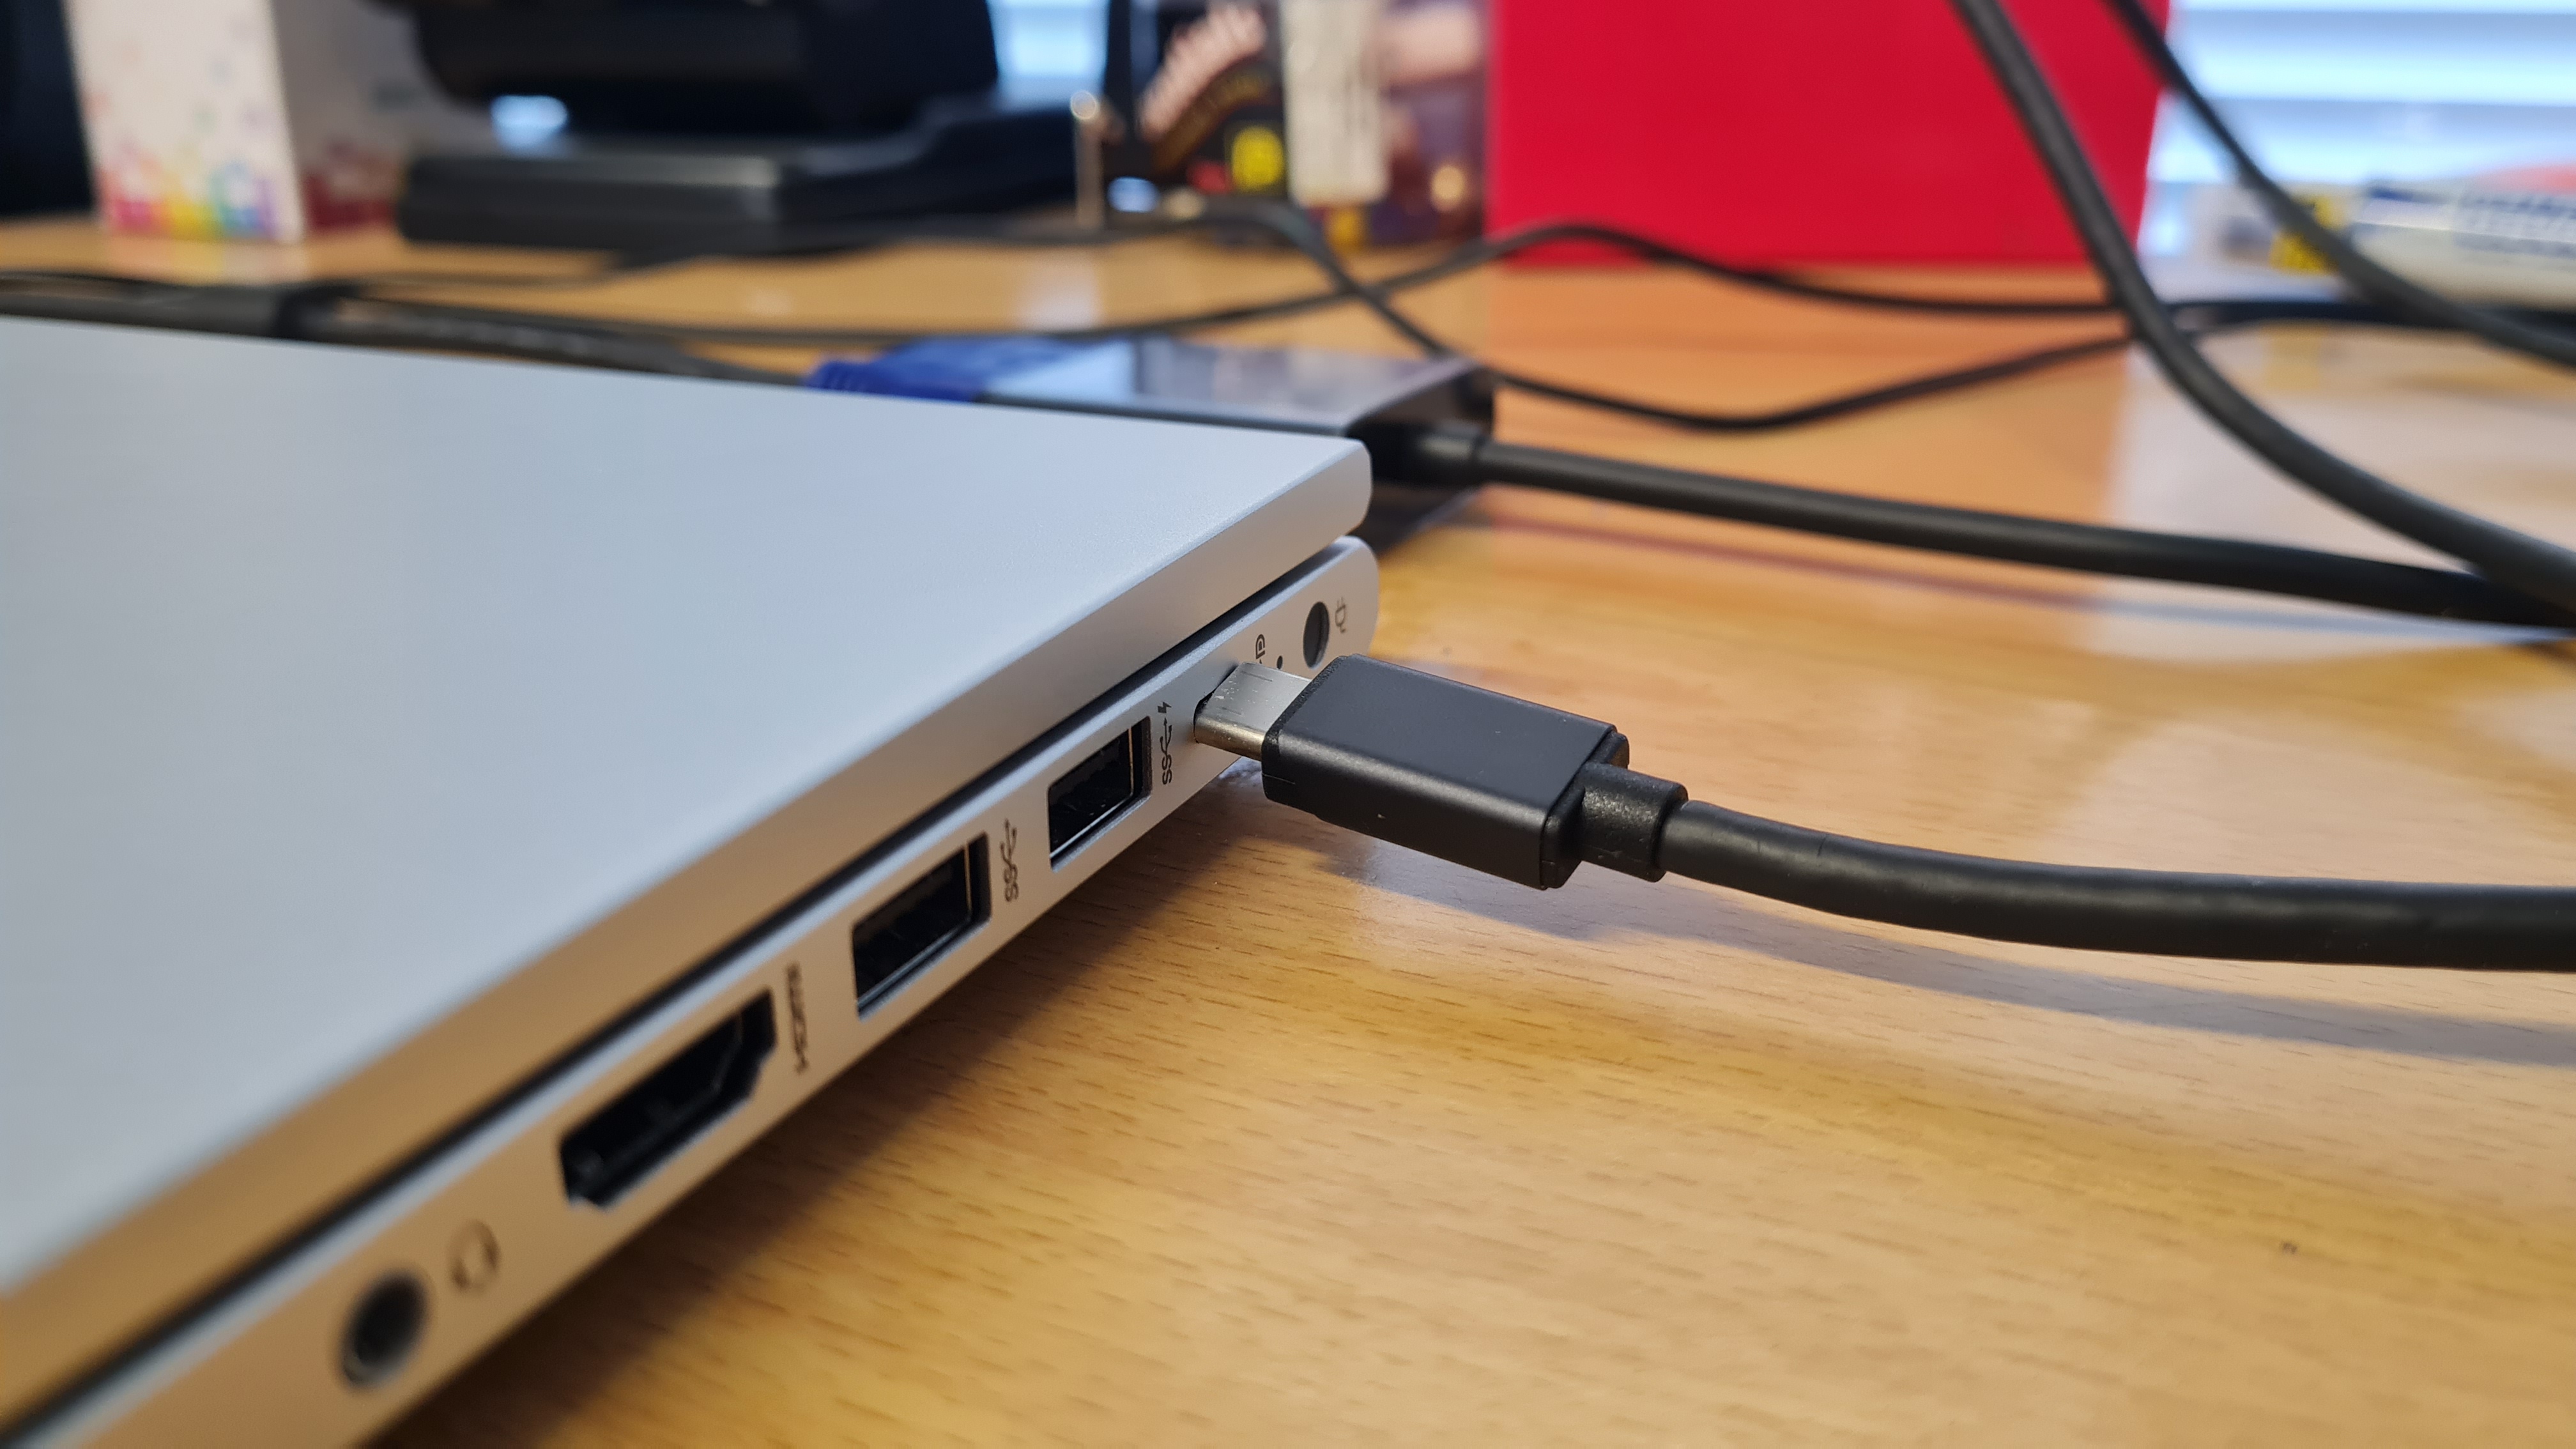
Fig 1. A docking station and audio cable connected to a staff laptop.
What does a Docking Station provide?
A docking station when connected to your laptop will provide you with a few features:
- Charging over USB-C meaning you do not need to plug in your charger
- More USB ports on the dock itself
- Access to any screens/projectors connected to the dock
Connecting to your Docking Station
Fortunately, connecting to your docking station could not be easier, where possible we have aimed for a 1 or 2 cable solution meaning that there is only 1 or at most 2 cables you need to plug in for most of your functionality. Please see our guide below:
- Connect the short "USB Type-C" cable coming from the docking station into the USB-C port on the right-hand side of your laptop.

- Additionally you may need to plug in the audio cable for the speakers to work. This is a thin cable that also goes into the right-hand side of your laptop into the "headphone" port.

- Optionally, you can setup or change the type of connection to your projector/smart board between "extend" and "duplicate" using the shortcut: "Windows Key + P". Please see a full guide on how to do this here.

- Done! You should now see your projector or smart board connected to your laptop
FAQ
Q: I have connected the cable but nothing is happening?
A: Try to disconnect the cable, flip it over and reconnect it. Sometimes it may not recognise it in a specific orientation and by flipping it your laptop will try again.
Q: How do I connect my visualizer?
A: Most classroom's visualizers will already be connected to the docking station, however if this isn't the case you can either use a USB port on the docking station provided or connect it to a USB on your laptop.
Q: My projector/smart board isn't showing the same as what's on my screen.
A: Most likely your display settings are set to "extend" mode rather than duplicate". Follow the steps in the guide above to change it, or alternatively you can "drag" windows to the projector screen as if it were a second monitor.
If you have any problems please contact the IT support team.
