This guide will provide a step by step guide in installing and using TeamViewer meeting in order to share your screen with students on iPads.
Installation of TeamViewer Meeting
To install TeamViewer meeting, please click on the below link:
https://download.teamviewer.com/teamviewermeeting
Once downloaded, please run the installer and follow the setup steps, if there are any options, please leave as default and click next.
Once installed please go to the next step.
Using TeamViewer Meeting
To use TeamViewer meeting, please start the program from the start menu.
Once opened, TeamViewer will automatically setup. To start a meeting you will see a 'start meeting' button with a Meeting ID number next to it, please make a note of this number as this will be needed by the student.

When you are ready to start sharing your screen, press 'start meeting'
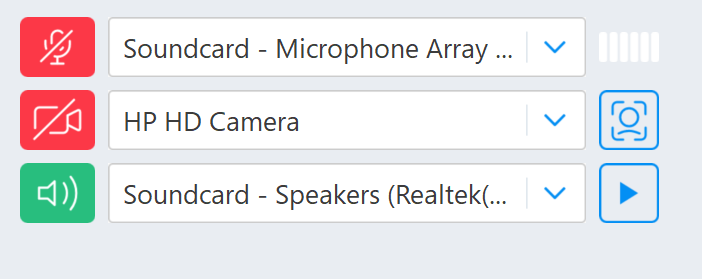
You will then be prompted with option on your sound, Camera's and speakers, please click the icons on the left so they all turn red meaning they are disabled as they are not needed if you are wanting to display your screen only to a child in your class.

Once you have turned off all devices, click 'start meeting'
Now that you have started the meeting, you will see a bar across the bottom of your screen as shown below:

To share your screen, click on the computer screen icon as circuled above, it also shows your ID number to provide to the student in the next section.
Joining the meeting
Now that you have started a meeting, please as the student(s) to start the TeamViewer Meeting App installed on the device.
Once this has opened, their will be a join meeting option on the splash screen, please provide the student with your meeting ID number for them to enter here, once entered, press join and they will be able to see your screen.

If you have any problems, please contact IT support.