This Guide will show you how you can edit pages and posts for our trust websites using WordPress.
Step 1 -
Please log into the trust website you wish to edit, if you don't know how to do this, please follow the below Guide:
https://help.centralrsaacademies.co.uk/a/solutions/articles/43000640909?portalId=43000116243
Step 2 -
Once you have signed into your school website, you will be automatically taken to the dashboard for the website.
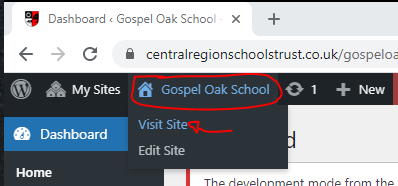
The easiest way I have found to edit a page on the website is after logging in browse the school website as normal and open the page you wish to edit, you can do this by hovering over the site name in the top of the dashboard and choosing 'Visit Site'
Step 3 -
You will now be taken back to the school website with one key difference, you should now see a black bar across the screen as shown below:

If you can not see this, please ensure you have signed into the website following step 1.
now that you can see this black bar, browse the website as normal until you locate the page you wish to edit, in this example, I'll use the Vacancies page. Once the page is open press the 'Edit Page' button on the black bar across the top of the page:

Step 4 -
Editing a Page:
Now that you have clicked the 'Edit Page' button you will be taken to the page editor where you can see the content and building blocks for that page.
From here if you wanted to edit some text simply select the text you want to change and amend as you would a normal text document, you can also add additional text within a text block as you normally would do as well.
If you wish to add additional text blocks, images or any other content to a page you can do this by first identifying where you would like to add content and over your mouse in that space, you should then see a + box appear:
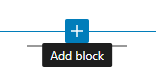
Please click on this + icon and a box will appear asking you what content you wish to add, you will be able to see a list of some of the most commonly used blocks in the list, for example paragraph to add text and image to add an image.

You can also select the browse all to view all blocks available or use the search box if you know the name of the block you would like to add.for this example I will add a document to the page which can be downloaded. to do this, I searched for 'file' and selected the file option that appeared:

Once I select 'file', the block will be placed on the page where I clicked the + Icon..
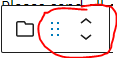
Tip - You can easily move blocks up and down the page by selecting the one you wish to move and selecting the up and down arrows or click and holding onto the 6 dots and dragging the block up and down the page:
I will now see the block on the page and an option to upload a file or browse the media library, please choose the option you need. in this example, I know it's a new document that is not stored within the media library so I'll choose the option upload.
Once selected, browse your computer as normal to find the file you wish to upload and press open. this will now upload onto the page. by default with PDF's you will see a preview of the file. if you don't want to see a preview, on the right hand side of the page there is a toggle switch, to turn 'show inline embed' off

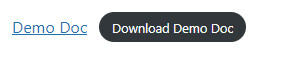
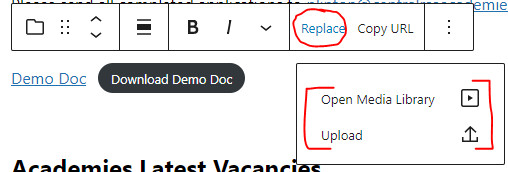
You can now edit the name of the document to what you want by selecting the name, you can also do this with the name of the button as shown below:
To change the document attached to the link, you can simply select the button and choose the option 'replace' then selecting either upload or media library as normal:
If you wish to remove a block, simply select the block you want to remove, click on the 3 dots on the right and select, ''Remove block'

Once you have made all the required changes to a page, you can preview the changes you have made without it going live by pressing the 'preview' option in the top right corner of the screen.
Once you are happy with the changes you can press the 'update' button in the top right corner - Please be aware this will update the page publicly
